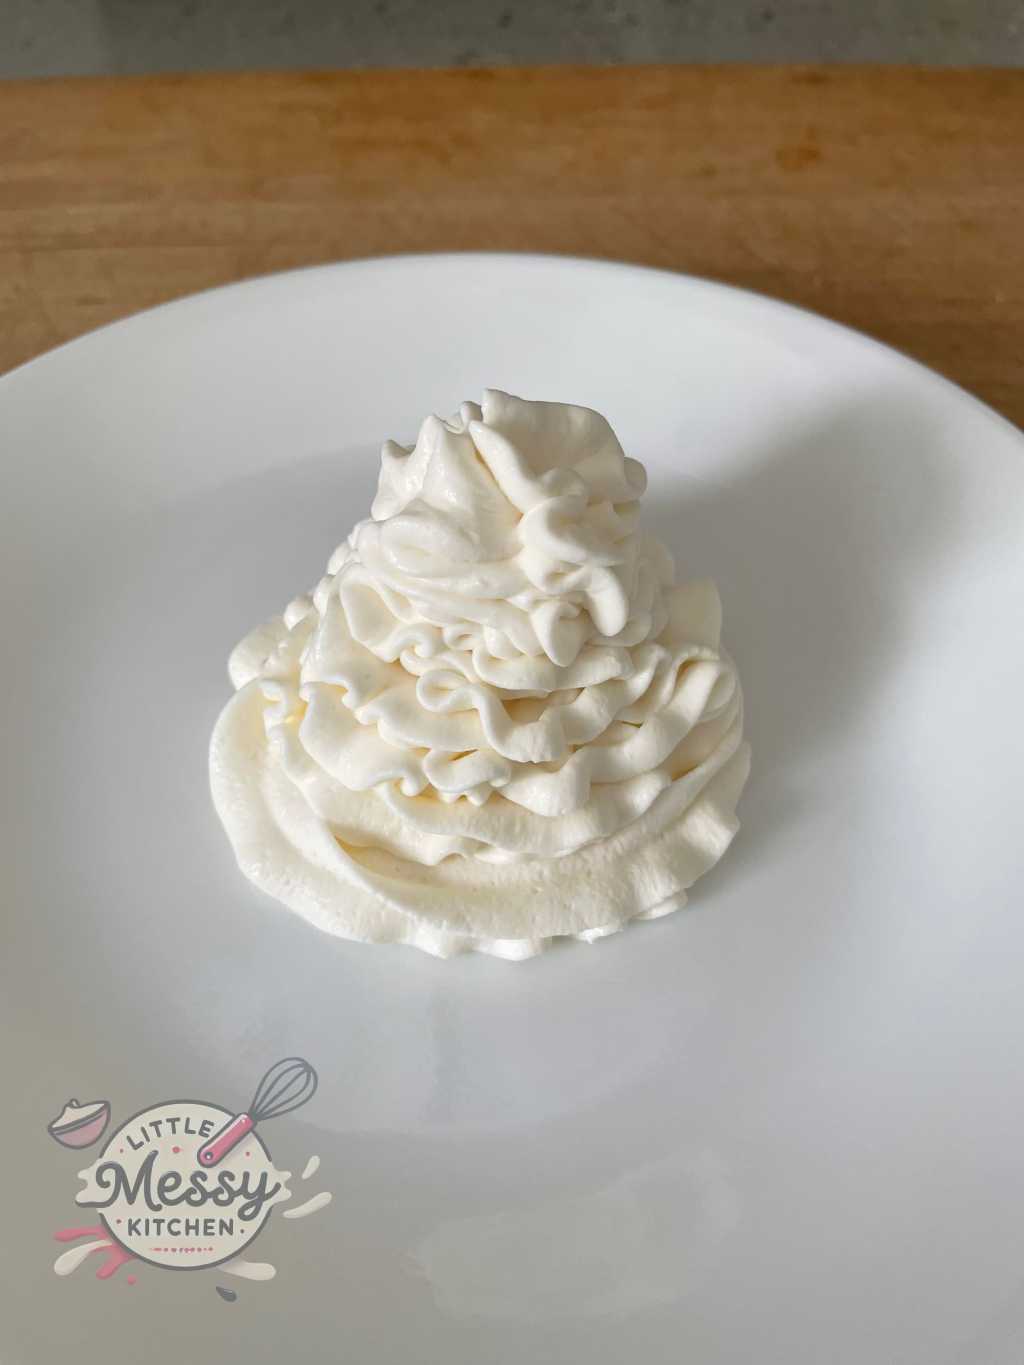
If you’ve ever made whipped cream only to watch it deflate hours later, this recipe is your new go-to. This stabilized whipped cream uses a simple trick—cornstarch instead of gelatin—to help it hold its shape longer without compromising texture or flavor. Light, fluffy, and perfect for piping, frosting cakes, or topping pies and desserts, it’s an easy upgrade that gives your whipped cream the structure it needs without any added fuss. Whether you’re decorating cupcakes or prepping a make-ahead dessert, this version won’t let you down.
What You’ll Need
Ingredients
- 1 cup Whipping Cream
- 2 tbsp Icing Sugar
- 1 tsp Cornstarch
- 1 tsp Vanilla Essence
Equipment I Used
How to Make It
Chill the Bowl and Whisk
Place both the mixing bowl and the whisk attachment (or beaters if using a hand mixer) into the freezer for at least 15 minutes before you begin. This ensures that everything is cold, which helps the cream whip up faster and increases its stability.
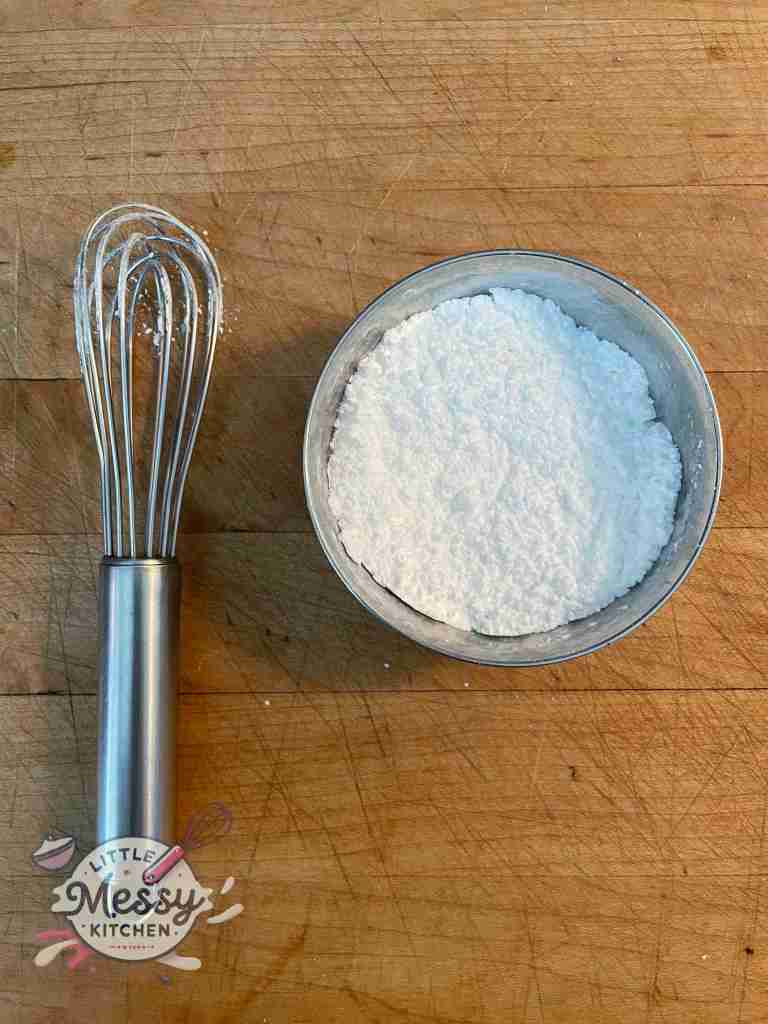
Prepare the Sugar and Cornstarch Mixture
In a small bowl, combine the icing sugar and cornstarch. Mixing these dry ingredients together ensures that the cornstarch will evenly distribute into the cream, helping it stabilize without clumping.
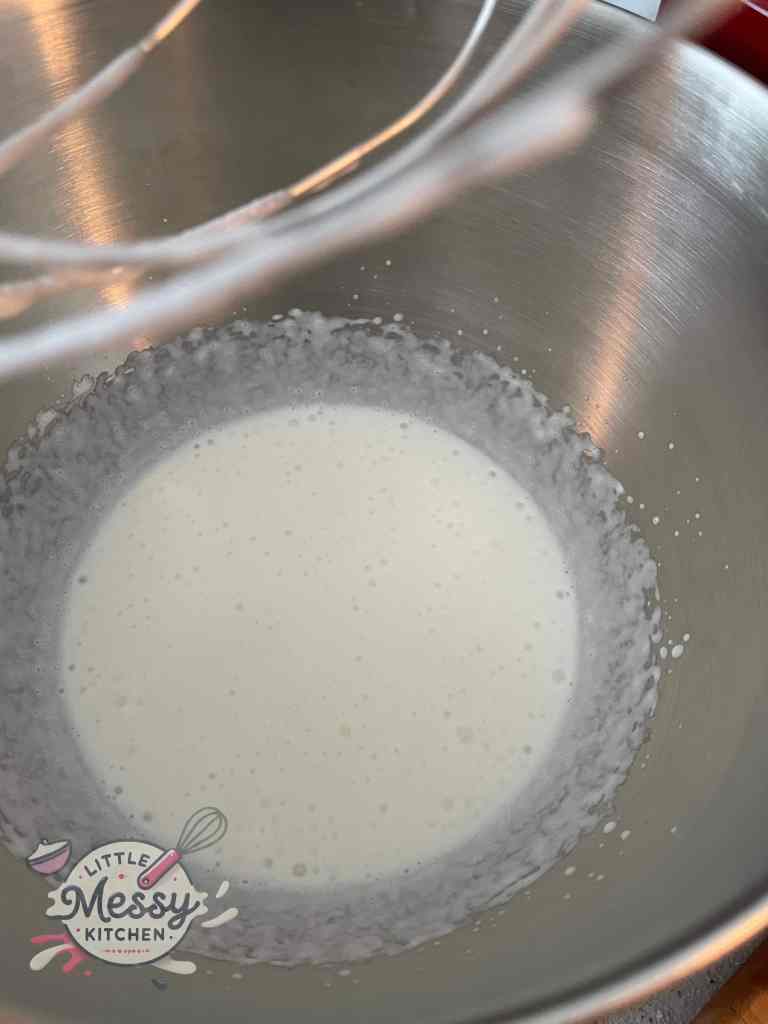
Whip the Cream
Pour the cold whipping cream into the chilled mixing bowl. Using an electric mixer, start whipping the cream on a low speed. This helps to gradually incorporate air without splattering. As the cream begins to thicken, increase the speed to medium-high.
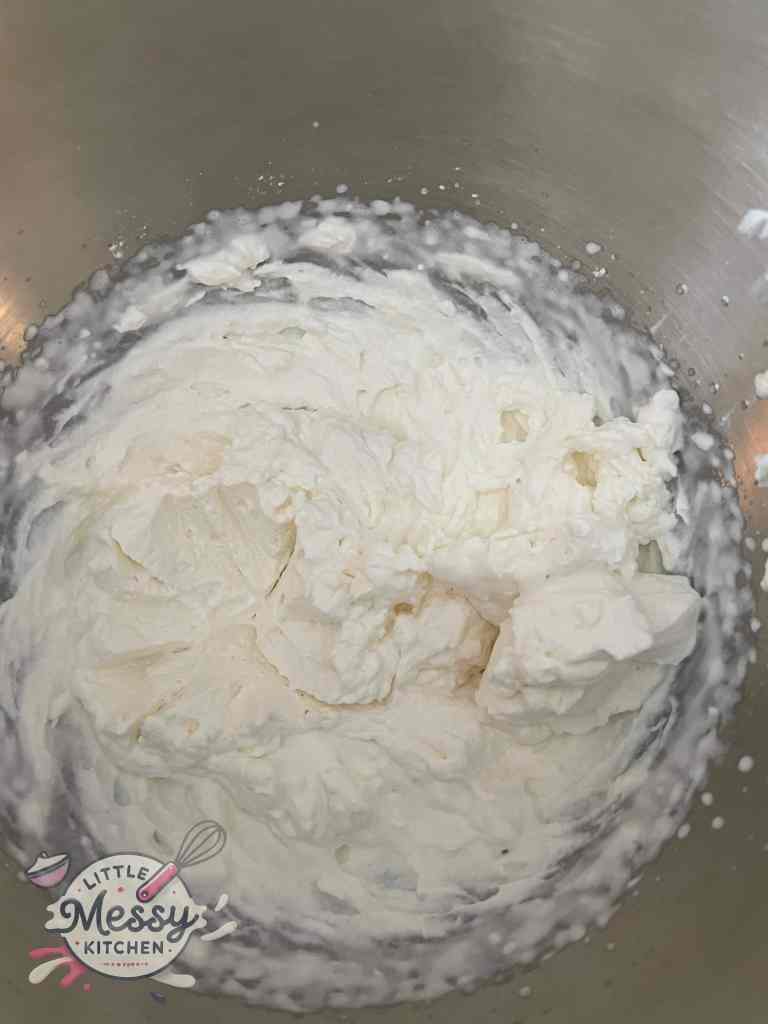
When the cream starts forming soft peaks (the point where the cream holds its shape but still has a smooth, billowy texture), begin to gradually add the sugar and cornstarch mixture. Continue whipping as you add it, allowing the mixture to fully integrate into the cream.
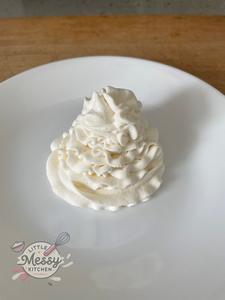
As the cream thickens and reaches stiff peaks (where the cream stands straight up when the whisk is lifted), add the vanilla essence. Continue whipping for a few more seconds to ensure the vanilla is evenly mixed in. The stabilized whipped cream should hold its shape firmly without falling or losing volume.
Make-Ahead Tips
This stabilized whipped cream is perfect for prepping in advance. Once whipped, it can be stored in an airtight container in the fridge for up to 3 days without losing its shape or texture. It’s ideal for frosting cakes or cupcakes ahead of time, or for having ready-to-use topping when assembling desserts just before serving. For best results, keep it chilled until use and give it a gentle stir before piping or spreading if needed.
Storage
Refrigeration:
- Store in an airtight container in the fridge for up to 3 days.
- If used on desserts, keep the entire dish refrigerated to maintain the structure.
Freezing:
- Freezing is not recommended, as the texture of whipped cream can change significantly once thawed.
Re-whipping:
- If the cream begins to deflate slightly, a quick whisk with a hand mixer can restore its fluffiness.

Creating stabilized whipped cream at home is a simple yet invaluable skill for any dessert lover. With just a few ingredients and some easy steps, you can ensure your whipped cream remains perfectly fluffy and stable for all your baking and decorating needs. Whether you’re topping a beautiful cake, a luscious pie, or just adding a dollop to fresh fruit, this recipe will give you consistent, reliable results every time. Give it a try and see how it transforms your desserts into stunning, delicious masterpieces. Happy whipping!
How to Make Stabilized Whipped Cream – No Gelatin Needed
Ingredients
- 1 cup Whipping Cream
- 2 tbsp Icing Sugar
- 1 tsp Cornstarch
- 1 tsp Vanilla Essence
Directions
- Chill the bowl and whisk in the freezer for 15 minutes.
- Mix icing sugar and cornstarch in a small bowl.
- Pour cold whipping cream into the chilled bowl. Whip on low speed, gradually increasing to medium-high as it thickens.
- Once soft peaks form, gradually add the sugar and cornstarch mixture, continuing to whip.
- Add vanilla essence and whip until the cream holds stiff peaks.
- Use immediately or store in the refrigerator for up to 48 hours.

Leave a reply to Little Messy Kitchen Cancel reply